
In this article I'm going to summarize the steps to set up your development environment to be ready to develop an iOS app.
XCode
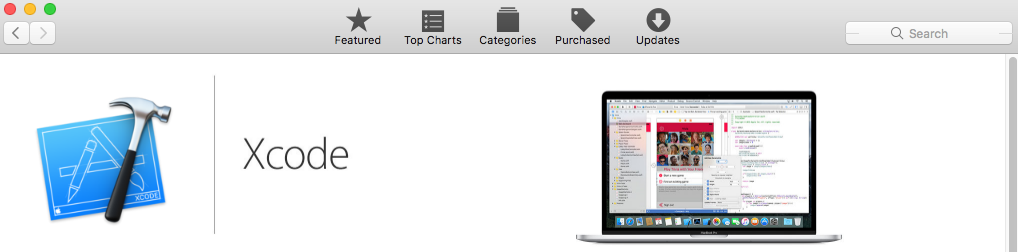
The first step is to install XCode on your machine. To install XCode nothing simpler just go to the Mac App Store and search for the XCode app, and then click Install.
Install Node and Watchman
The first step is to install Brew which will make it easier to install the dependencies we need. Run this command line in the terminal:
/usr/bin/ruby -e "$(curl -fsSL https://raw.githubusercontent.com/Homebrew/install/master/install)"
Once brew is installed, we'll be able to install Node that ReactNative uses to serve content to devices.
brew install node
Then we install Watchman:
brew install watchman
Installation of ReactNativeCLI
To install reactNative, just run in the terminal:
npm install -g react-native-cli
Note that npm was installed together with Node.js.
Testing your ReactNative installation
To test the installation nothing simpler just run these three commands in your terminal.
react-native init AwesomeProject
cd AwesomeProject
react-native run-ios
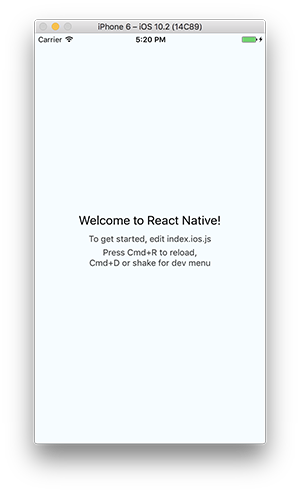
This will create a ReactNative project for you and run it in your iOS Simulator.
Configuring Visual Studio Code
To configure Visual Studio Code, just install the extension: React Native Tools.
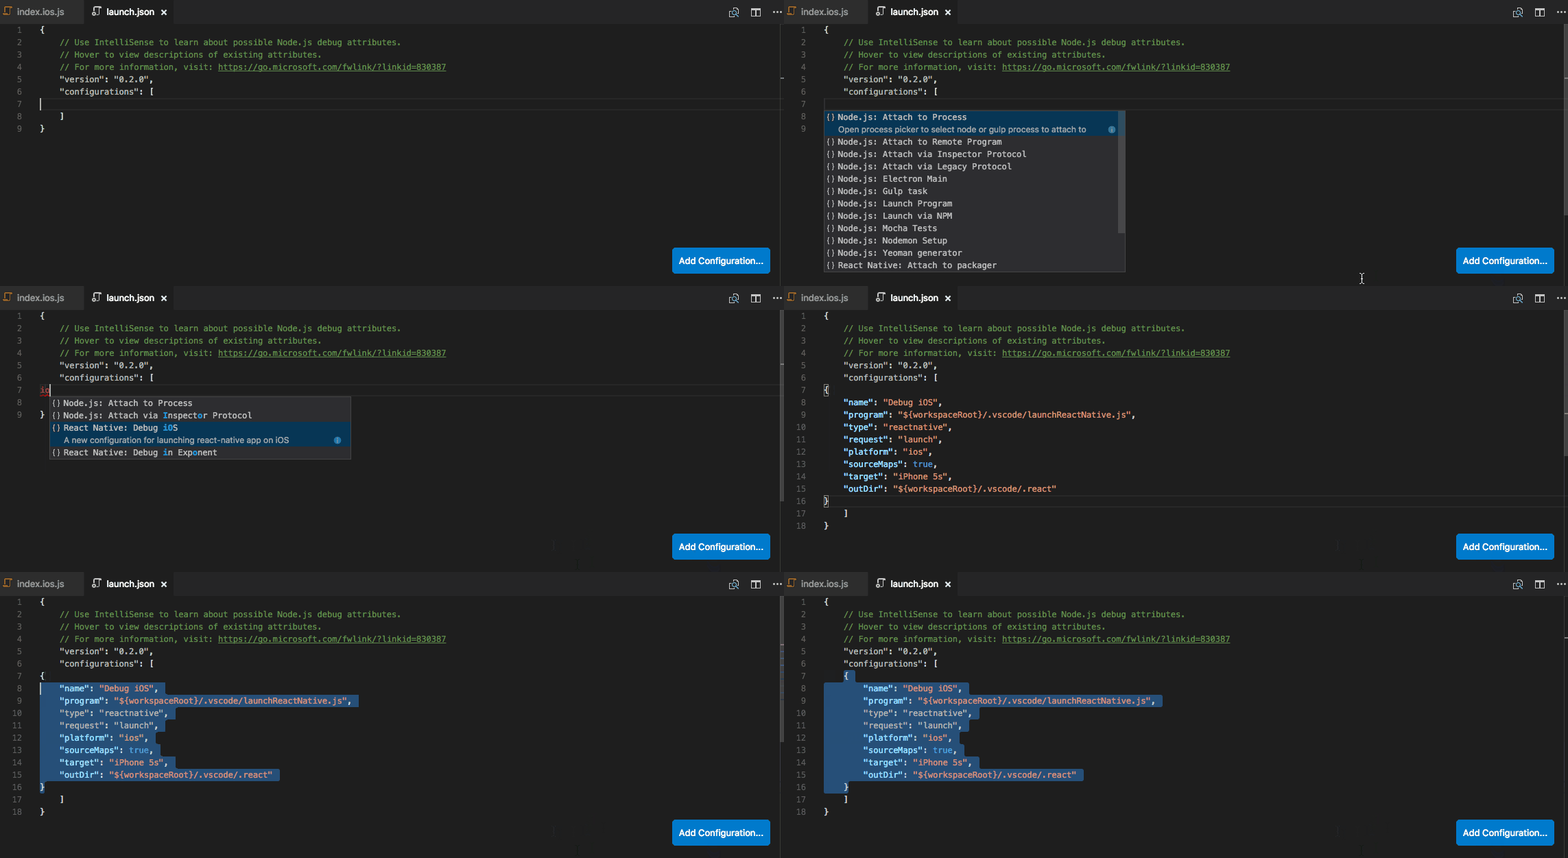
 To debug from Visual Studio Code you need to add a configuration to the launch.json file as follows:
This article is part of a series on ReactNative
- Presentation by ReactNative
- Configuring your ReactNative development environment on Windows
- Configuring its ReactNative development environment on macOS
Happy coding .